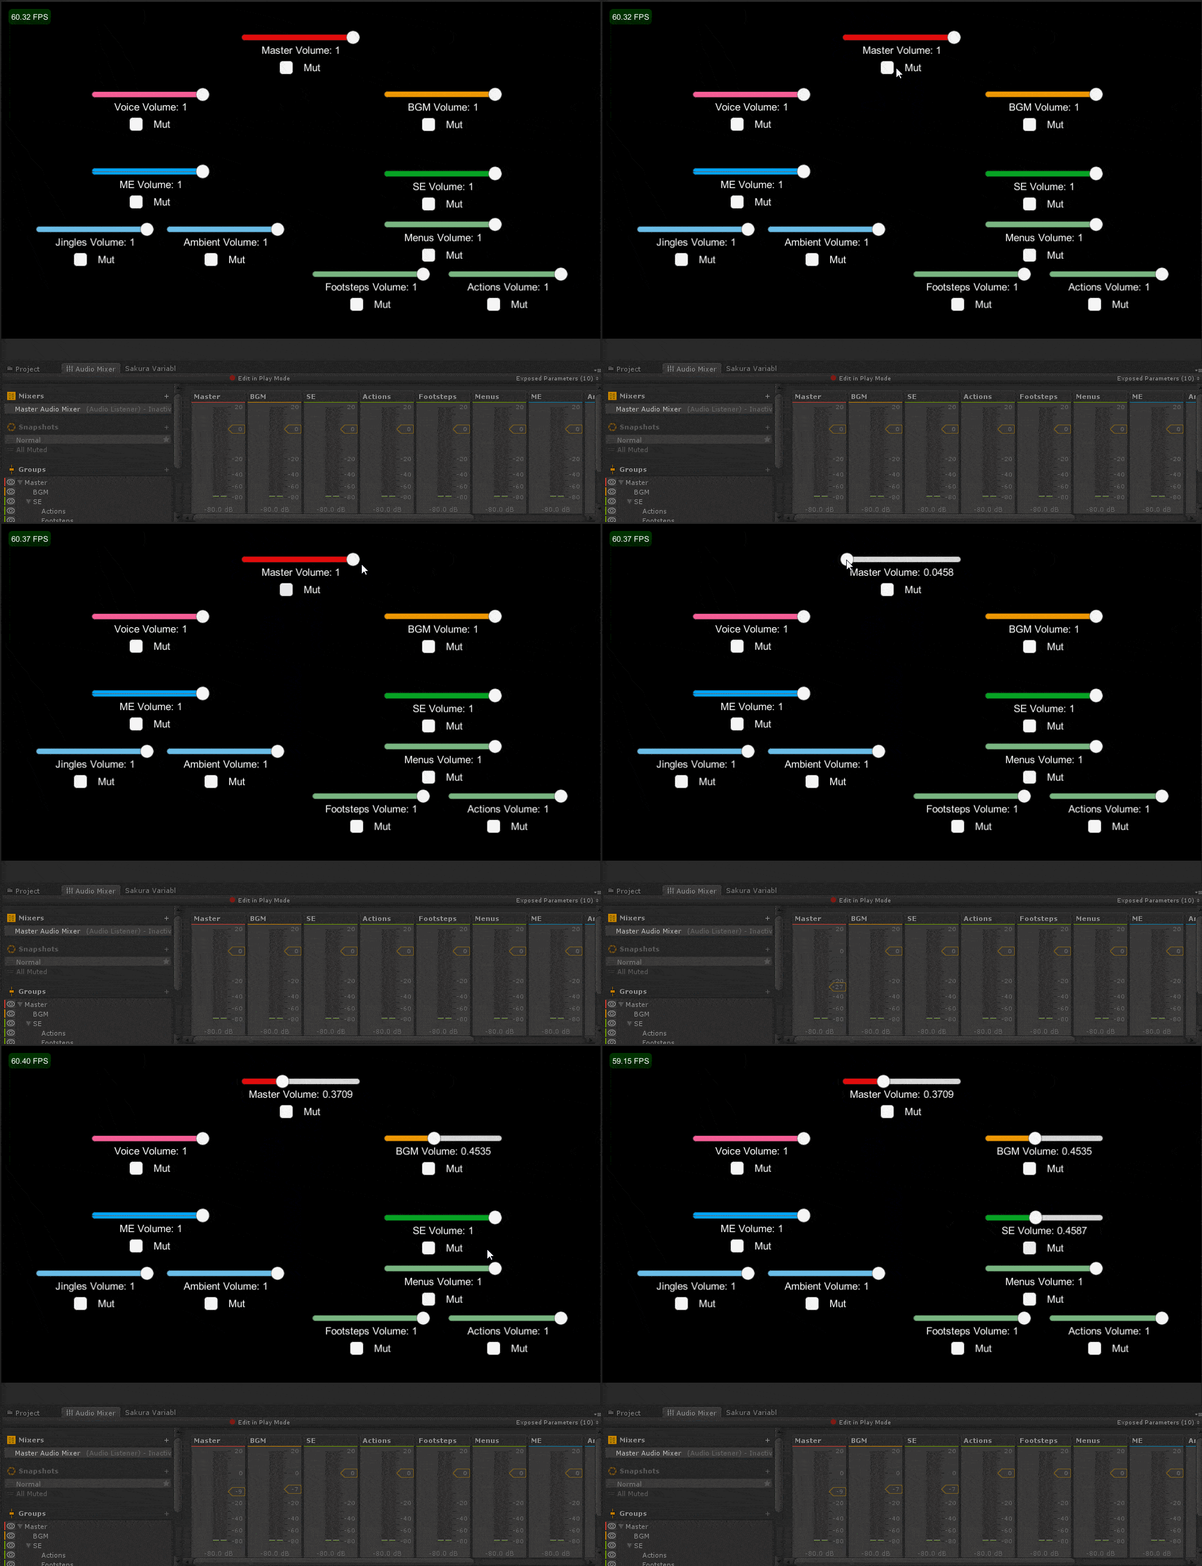
Audio is one of those things any game that is made will inevitably need to incorporate one way or another (unless it is just that extravagant of a game idea). So if you are one of those that plan on making several games, might as well make a good system that can be easily reusable between projects.
Telling you how to handle sound in a game is a very broad area to cover, as it most likely will vary greatly on a per project basis. But in my case, I felt that for the time being having different audio mixers up and running for the different types of audios I wanted to play was enough.
Now, this is a good time to tell you that there are very good and official Unity tutorials over what Audio Mixers are and how to work with them code-wise, but I wanted to talk about a little piece of information that was missing from said tutorials, the fact that audio is managed as a logarithmic value.
You see, the way you can manipulate the audio of a mixer group is directly, you tell the mixer at what dB (decibel) value it should stay. While 0 dB does mean “normal” audio volume, and -80 dB is “mute”, what human ears perceive as the middle ground between normal and mute_ ISN’T -40 dB_. So if you were to make a slider like any of the ones shown above, you wouldn’t want that 0.5 was equal to setting that audio mixer to -40, or 0.25 to -60. Instead you should be using these formulas:
For converting from linear values (L) to DB:
- If “L” < 0.0001, dB should be 80
- If “L” > 1, dB should be 0 (Or you can ignore this if you want values up to 20 dB)
- Or if “L” is between said values: dB = Mathf.Log10(linear) * 20f
Because of this formula is the reason you should want to keep 0.0001 < “L” < 1, as that is the way to achieve a range of values between -80 dB and 0 dB using the formula.
And, the opposite operation can be done to convert dB to “L”:
- If dB < 80, “L” should be 0.0001
- If dB > 0 80, “L” should be 1 (Again, this isn’t the case if you want to use up to 20 dB)
- Or if dB is between said values: L = Mathf.Pow(10.0f, dB / 20.0f);
And congratulations, now you know how to make audio sliders that actually work as they should. And if you think that using these formulas isn’t needed at all, try to make a slider that can move between -80 and 0 and move it around. You will notice that when near the “0” end of the slider, it is still being heard pretty loud, and when close to “1” the changes are a little more drastic.
Pair up this little piece of audio settings trivia with the tutorials shown above and you are on your way to make a system similar or way better than what I did.
And finally, as always, thank you very much for making it this far, and for reading my blog 😀
